
By AI Image to Image · Updated
What is AI image to image?
AI image to image creates a new picture from a reference image and written instructions. Your reference supplies visual context, and your prompt describes what to change. Your reference supplies visual information: the subject, arrangement, colors, or atmosphere. Your prompt describes the change. Together, they give the model a more concrete direction than text alone, whether you want a different setting, a new illustration style, or another interpretation of a familiar scene.
| Reference images | JPG, PNG, or WebP; up to 5 images, up to 10 MB each. |
|---|---|
| Output | One generated image per request, with a download option. |
| Account | Sign in, verify your email, and have enough credits to generate. |
| Free allowance | 10 one-time signup credits. The editor shows the cost before submission. |
| Editing controls | Whole-image prompt editing. No mask or pixel-lock control; details can change. |
Start here when you have something worth keeping. A product photo can suggest a new campaign scene; a room snapshot can anchor a decorating idea; an existing illustration can guide another visual direction. Generated results can also alter details you wanted to preserve. Treat the output as a proposed edit, then check the subject, text, and small features against your original before publishing it.
How AI image to image works
Upload a useful reference
Choose a clear JPG, PNG, or WebP image, up to 10 MB. You can add up to five references when several views help explain the subject. Remove unrelated screenshots and tiny crops that make important details difficult to see. Use images you own or have permission to edit, particularly when they contain people, artwork, or branding.
Describe the change and choose your settings
Write what should stay, what should change, and how the result should look. Select a model, aspect ratio, and supported resolution. GPT Image also offers quality settings. The editor shows the credit cost before submission, so you can choose a suitable starting point without guessing what an experiment costs.
Generate, inspect, and continue
Sign in and complete email verification to submit your edit. Each request creates one image. Review the result at full size, download a useful version, or use it as a reference for another edit. Keep the original nearby; it helps you spot changes that look convincing at first glance but do not match your intended subject.
Same starting point.
A different point of view.
Explore a few possibilities, illustrated with AI. Results vary with the model, source, and instructions.
 PRODUCT PHOTOGRAPHY
 THE ORIGINAL
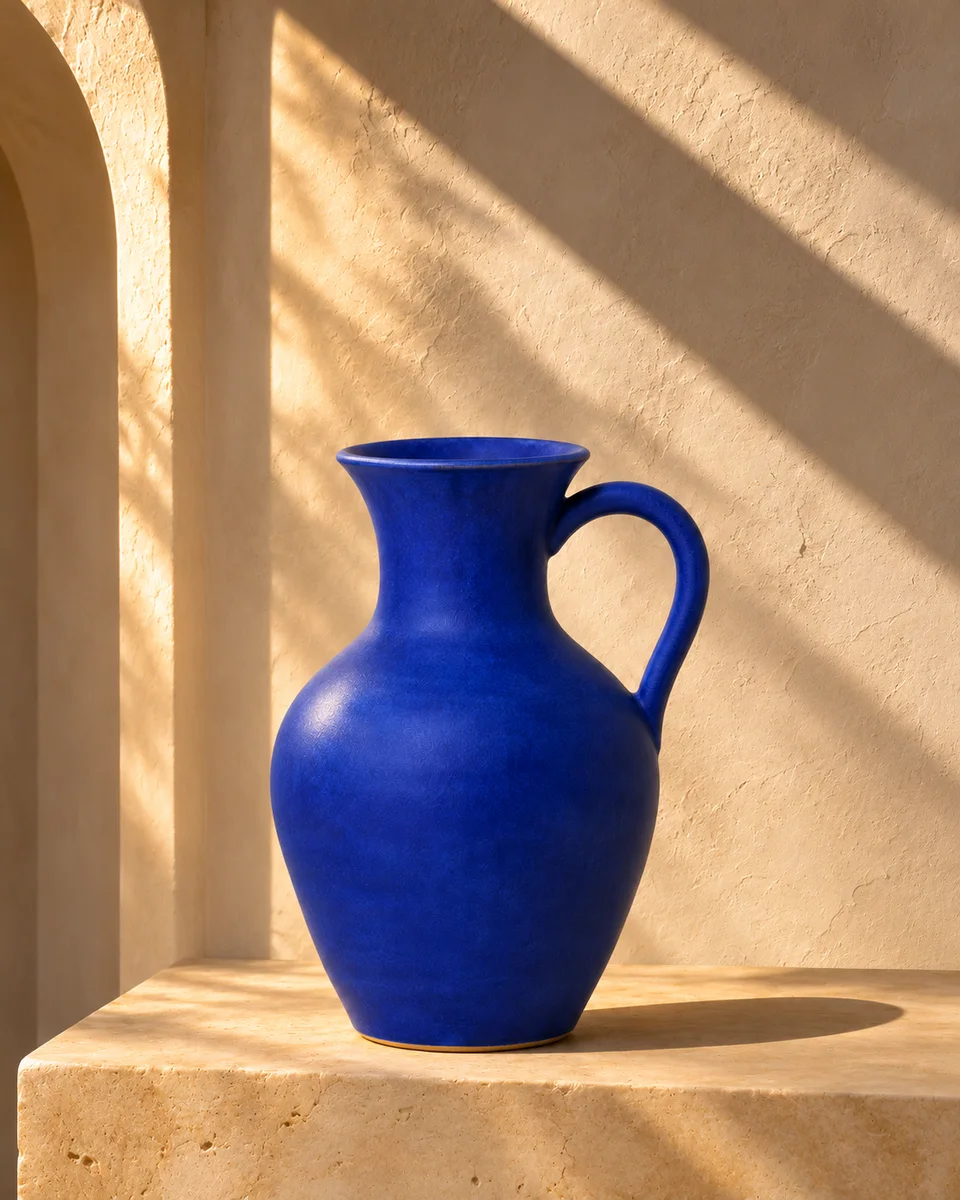
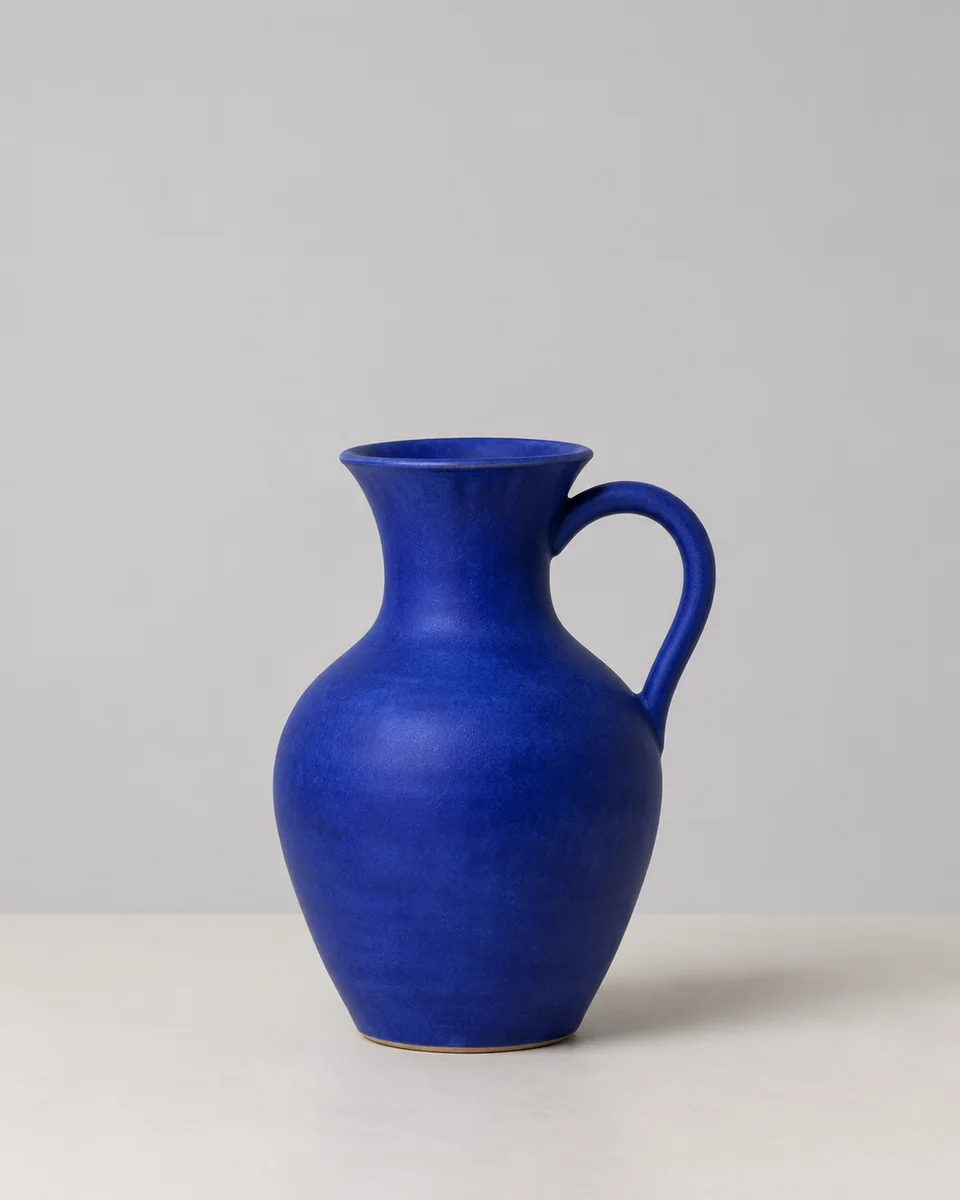
A new setting. The same product.
Give a simple product photo an entirely different atmosphere.
Try this starting point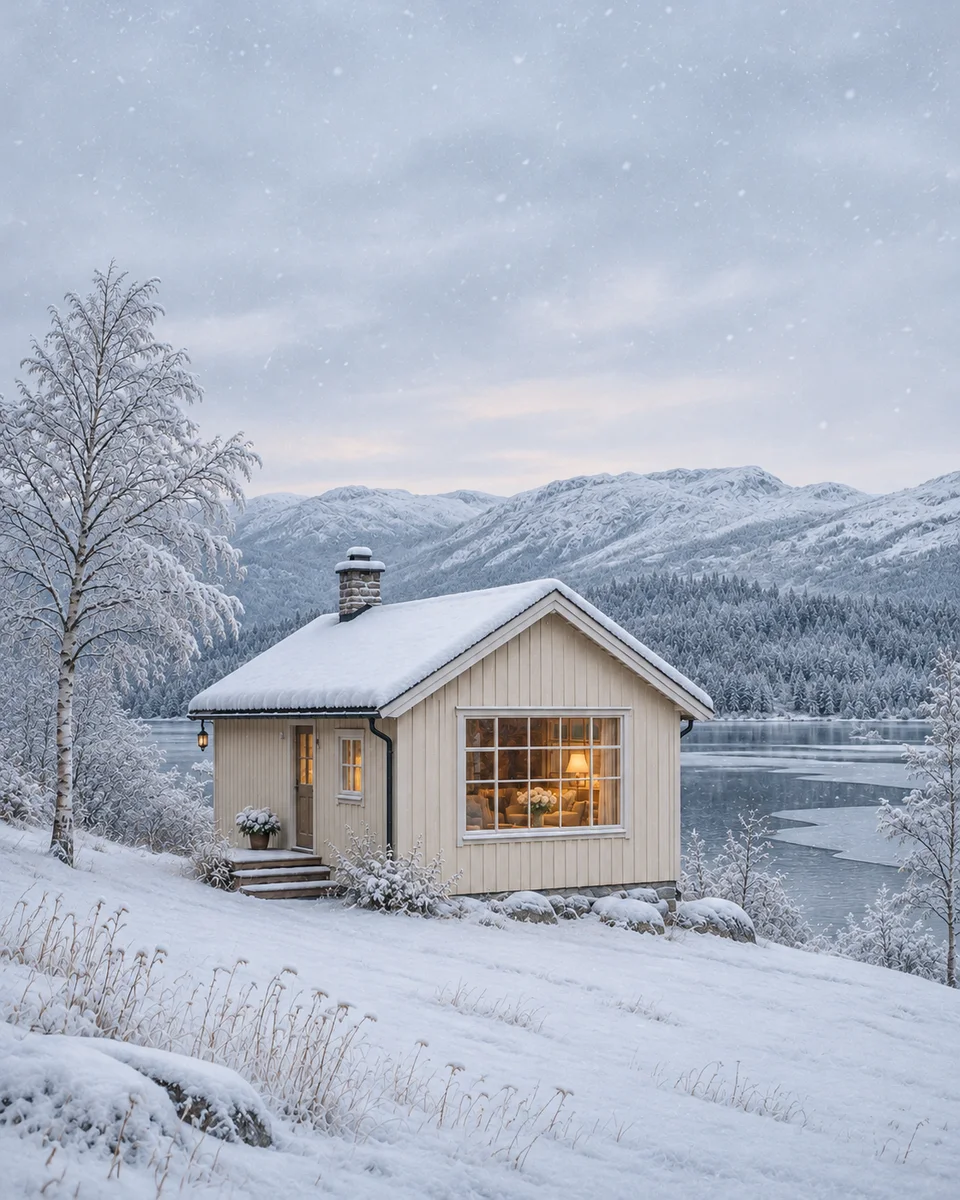 BACKGROUND & ATMOSPHERE
 THE ORIGINAL
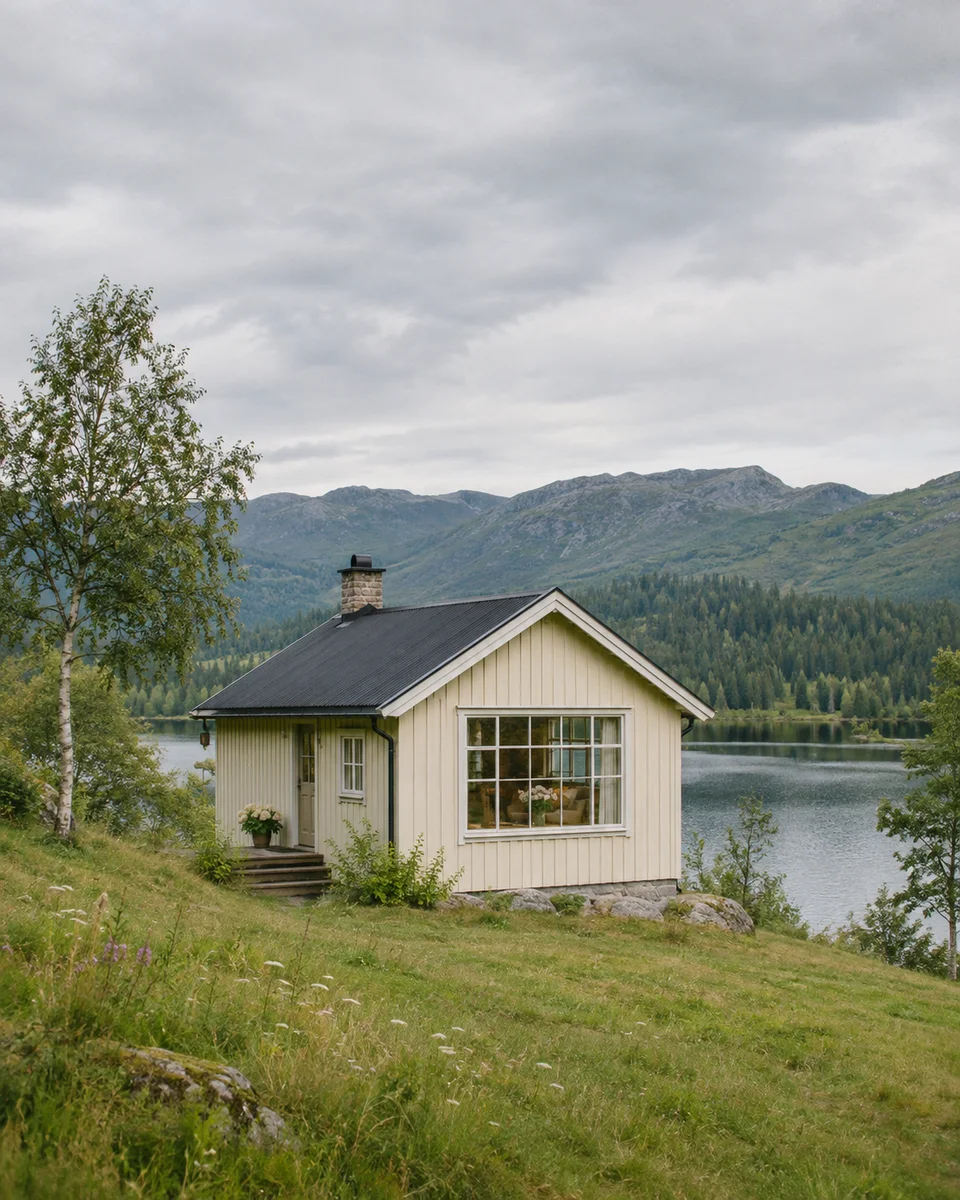
Somewhere familiar. Something new.
Explore a different season, lighting, or mood from one image.
Try this starting point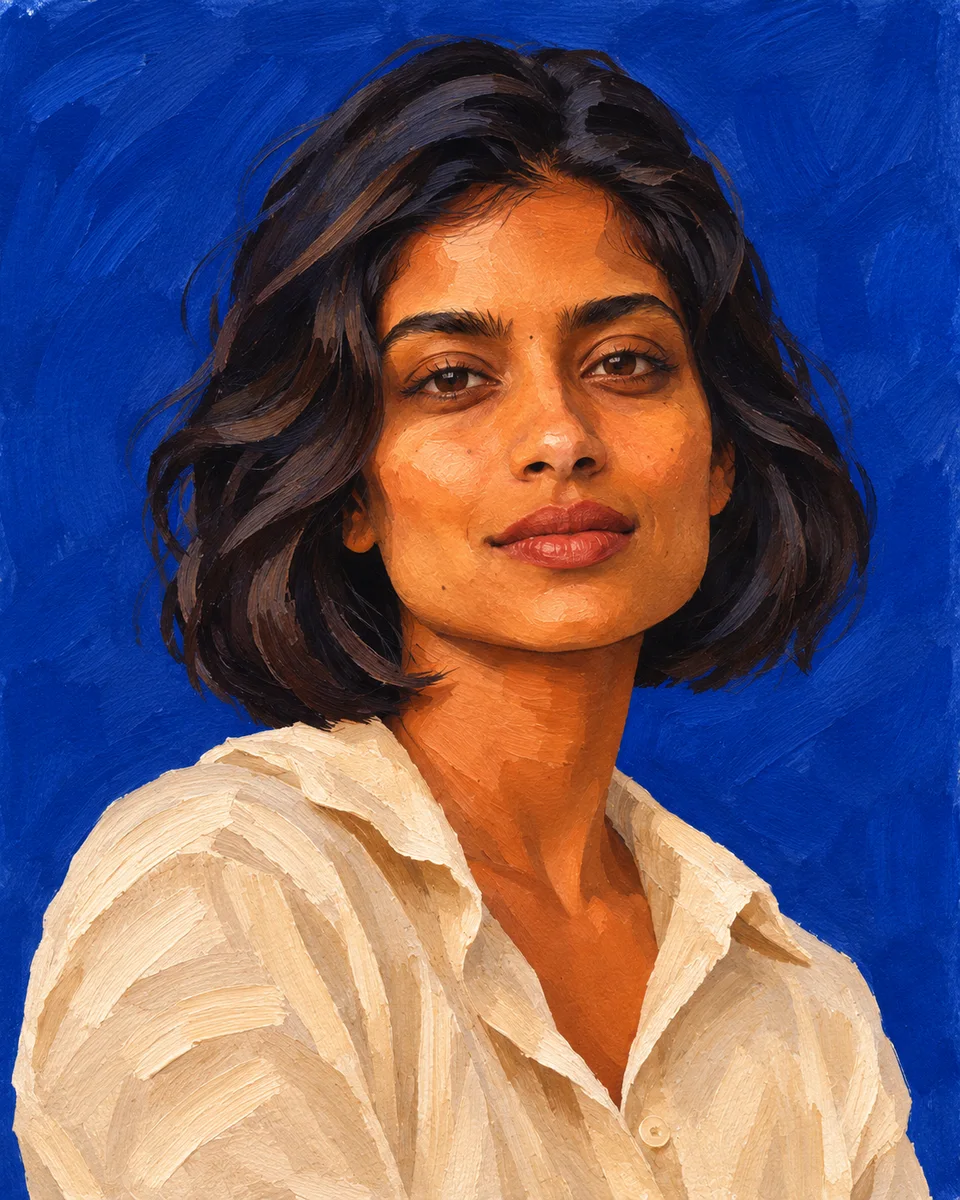 STYLE EXPLORATION
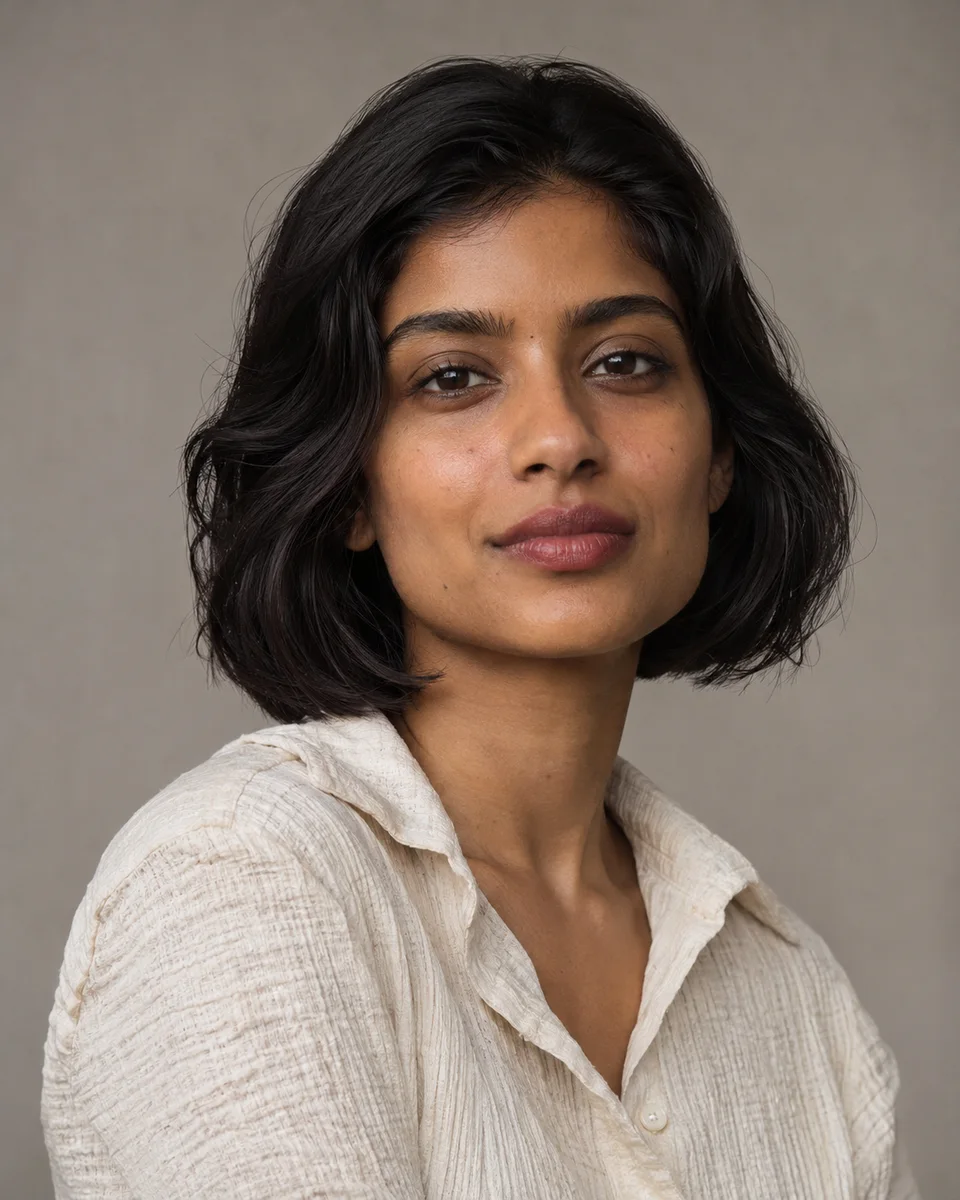 THE ORIGINAL
A photo, with a painter’s perspective.
Use a reference as the starting point for another visual language.
Try this starting pointChoose an edit with a clear purpose
Use image to image to explore a product scene, a visual style, or a different background. Begin with one main change and check the result against the details you want to keep.
Build a product scene
A simple packshot can become a starting point for exploring surfaces, lighting, and environments. Specify the packaging features that matter, such as the bottle shape and label placement, before describing a new backdrop. Check every label and product detail afterward. A generated mockup can help develop a direction, but it does not verify a product's appearance or substantiate advertising claims.
Explore a visual style
Describe a medium and a few visible characteristics: paper texture, restrained colors, soft shadows, or geometric shapes. Keep the subject and composition in your instructions when they are essential. Comparing two focused directions is often more informative than asking one image to combine many incompatible styles. The examples above illustrate possible directions, rather than a controlled comparison of model performance.
Reconsider a background or mood
Give a portrait, interior, or landscape a different setting by describing the environment, light source, and time of day. For an interior concept, mention which furniture and room features should remain. For a portrait, check facial details and consent before sharing. These are whole-image generations, so changes may extend beyond the background even when your instructions are specific.
Write an image editing prompt you can evaluate
Use a simple order: preserve, change, finish. First name the visible subject and the details to retain. Then describe one main change. Finally, add the lighting, framing, or material that makes the direction concrete. This order helps you decide whether the result followed your instructions. Long strings of adjectives can leave that decision much less clear.
Keep the ceramic mug, its handle, and the small blue emblem. Replace the kitchen background with a pale stone tabletop beside a window. Use soft morning light from the left, a gentle shadow, and a square crop.
If the emblem changes, make preserving it the next edit's priority. If the lighting is wrong, adjust the light direction while leaving the rest of the prompt alone. Change one important variable at a time so you can understand the difference. You can browse the prompt gallery for ideas, but adapt a borrowed prompt to the image you actually uploaded.
Image to image models compared
Nano Banana 2 and Nano Banana Pro have a fixed credit cost per image. GPT Image 2 separates quality from resolution, allowing more cost choices. Choose according to your available credits and the controls you need. A more expensive setting does not guarantee a better match for every reference; a specific instruction and a careful review still matter. Open the full model comparison for supported settings before planning several variations.
| Model | Credits / image | Resolution | Quality |
|---|---|---|---|
| Nano Banana 2 | 5 | 1K, 2K, 4K | Single quality tier |
| Nano Banana Pro | 10 | 1K, 2K, 4K | Single quality tier |
| GPT Image 2 | 2+ | 1K, 2K, 4K | Standard, medium, high |
Starting costs use 1K and the default quality. GPT Image costs vary with quality and resolution; check your editor quote before submitting.
Nano Banana 2
An approachable starting point for new scenes, different styles, and everyday creative iterations.
From 5 credits / image · 1K / 2K / 4KExplore modelNano Banana Pro
Explore detailed compositions and visual variations with the Pro model in the Nano Banana family.
From 10 credits / image · 1K / 2K / 4KExplore modelGPT Image 2
Control quality and resolution separately, with a credit cost that adapts to your selected settings.
From 2 credits / image · 1K / 2K / 4KExplore modelCheck the details that make the image useful
Inspect the output at its downloaded size. Look for altered faces, hands, logos, spelling, reflections, and objects that merge into their surroundings. Compare the reference and result for subject identity, proportions, and the details you explicitly asked to keep. A pleasing thumbnail can hide a misspelled label or an implausible edge that becomes obvious in a larger layout.
Keep a promising version before experimenting again, and choose the crop that suits its destination. Review permissions and relevant terms when using images publicly. New here? Read the free image to image guide to plan your signup credits, or see the editing controls and safety limits before submitting a sensitive request.
Provider provenance can remain in a downloaded image. Google’s image generation documentation states:
“All generated images include a SynthID watermark.” — Google image generation documentation
A download does not guarantee the absence of provider provenance. Review Google’s Generative AI Prohibited Use Policy and the service terms when deciding how to use or share an output.