
By AI Image to Image · Updated
Your prompt sets the look, without a preset filter
Image to image AI without preset filters lets you describe the edit instead of choosing a fixed visual effect. Here, “no filter” means no preset look or required style template: your reference image and written instructions set the creative direction. Keep a photo natural, explore a painted style, or build a new setting around your subject.
Write your own prompt from scratch, or use Background, Restyle, Product scene, and Restore as starting points. These shortcuts fill in editable text. Change the setting, medium, colors, or lighting to suit your image before generating.
Creative controls available in the editor
| Reference images | Bring up to five JPG, PNG, or WebP images, up to 10 MB each. Explain which subject or visual details to use from each. |
|---|---|
| Prompt | Describe what to keep and what to change, including the background, style, lighting, colors, and composition. |
| Model | Choose Nano Banana 2, Nano Banana Pro, or GPT Image 2 for your edit. |
| Aspect ratio | Choose a square, portrait, or landscape frame to suit a product listing, social post, or wider layout. |
| Resolution and quality | Select a supported resolution from 1K to 4K. GPT Image 2 also offers quality settings. Review the credit cost before you submit. |
Compare the available models and settings to choose a starting point. Your prompt describes the look; the output settings define the frame and resolution.
Change the background, style, scene, or finish
Each example below is a prompt idea you can adapt to your reference. Name the details that matter, then describe one main change.
Background: give your subject a new setting
“Keep the person, outfit, and pose. Replace the background with a sunlit courtyard, with warm afternoon light and soft shadows.” Use this direction to explore a new portrait backdrop while asking to retain the subject.
Restyle: choose your own visual medium
“Reimagine this photo as a watercolor illustration. Keep the main subject and composition, with visible paper texture and muted blue and ochre colors.” Specify the medium and palette yourself instead of accepting a fixed filter.
Product scene: build a setting around a packshot
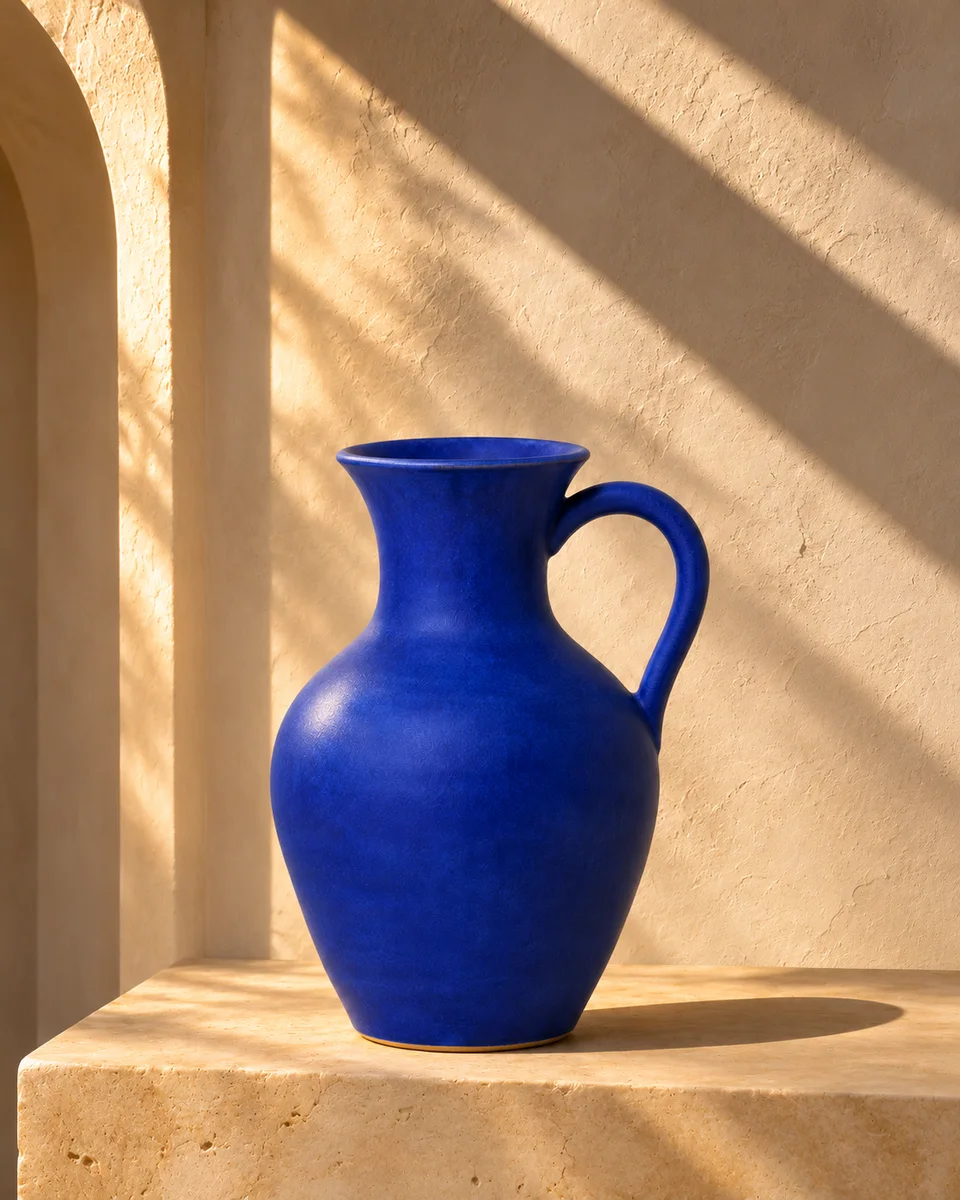
“Keep the bottle shape and label. Place it on pale stone beside a linen cloth, with soft window light and a warm cream background.” Use the result to explore a campaign or product listing concept; check the label and packaging against your original.
Restore: guide a natural photo refresh
“Reduce the faded color cast, improve clarity, and balance the lighting. Preserve the people, composition, and character of the original photo.” Describe the repair you want without requesting a new artistic style.
Get one downloadable image from each completed edit
- Upload your reference. Choose a clear image with the subject and details you want the model to use.
- Describe the change. Name what should stay, then the new background, style, scene, or repair. Add lighting and color details when they matter.
- Choose the output. Set your model, aspect ratio, and resolution, then review the displayed credit cost.
- Generate, compare, and download. Inspect the result beside your reference. Download a useful version, or use the result as a reference for the next edit.
Each completed request produces one newly generated image. The editor redraws the whole frame; it does not offer a painted mask or pixel lock. Preservation instructions guide the model, so compare faces, text, labels, and other important details before using your result.
Questions about editing without preset filters
Do I have to choose a filter or style template?
Can I keep the photo natural and change one thing?
Can I continue editing a generated result?
How do I understand a declined or failed request?
Open the task in My creations and check its status and error details before starting another attempt. A policy refusal, provider timeout, and storage error have different causes. For a policy refusal, choose a source image and edit that comply with the provider's rules.
Eligible failed generations record a credit refund against the original usage. Check the task and your credit history; if the records appear inconsistent, contact support with the task identifier and error details.
Safety rules and signup requirements still apply
“Without preset filters” describes creative controls. Provider content policies still apply to uploads, prompts, and results; the editor has no safety-off setting and does not promise uncensored output. Use images you have permission to edit and review the service terms, Google's generative AI use policy, and OpenAI's usage policies for your intended use.
Prepare a draft before signing in. To generate, sign in with an email-verified account and enough credits for your settings. New accounts receive 10 one-time signup credits; the free image to image guide explains what they cover. Check the displayed cost before each submission.